Masking tricks in Image Blender
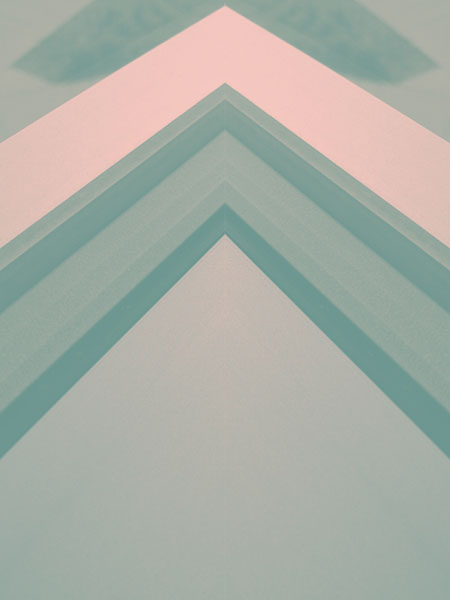
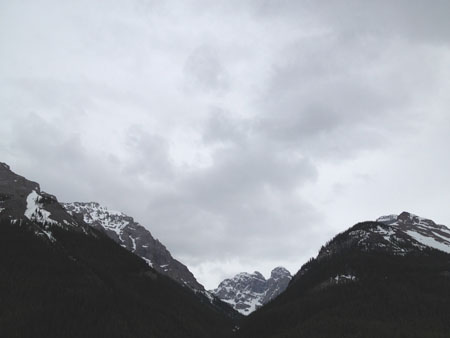
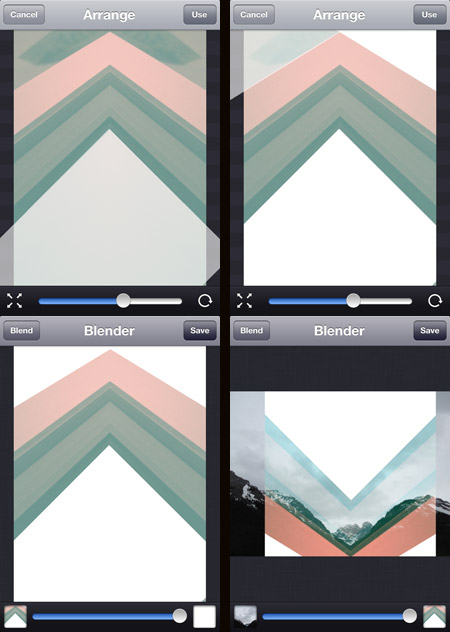
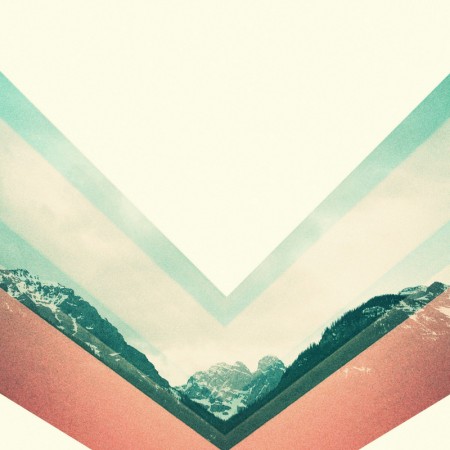
Image Blender is my go to app for blending and masking but I was getting frustrated using the brush tool to mask a straight line, then it dawned on me that I could use a solid black or white image to “knock out” the part I wanted to be transparent (or in this case to be opaque). Once I blended down the solid black or white I could bring the image back in and use the blending modes to get the transparency.
The screenshots above show this process. The original photo was the edge of a window frame. I overlaid a blank white image at four different angles. I then flipped it and blended it over the mountain photo. Tip: Swipe to the right to move and rotate the image and then from the main screen tap and hold to flatten down, switch images or copy. I did the final color adjustments in picfx, another go to app for me. If you have any other Blender tricks post them below!
Posted by: Seth Hardie
Instagram: @hallwood
7 Comments Leave A Comment
mg33 says:
September 26, 2012 at 8:40 amSeth,
I wonder if you have the same thoughts I do with Image Blender: really wish it had a way to precisely rotate or position masking layers that didn’t involve moving them with your finger. I’ll often feel I have something positioned just right, then when you let off the screen the positioning changes. I keep quite a few such knockout images in my phone – black/white circles, triangles, etc.
You’ll laugh at this: It took me a while to ever use the brush tool in the mask mode, and if I’d messed something up with the erase tool, I thought that Cancel was my only option to back out of a mistake. Imagine the relief when I discovered what the draw tool actually does… :D
@mg33chicago
Chris Hahn says:
September 26, 2012 at 12:11 pmI find masking with a stylus more precise. Question: What do you use to do your mirroring? There aren’t any apps (that I could find) that shoot mirroring in realtime, except for one and it saved the images at a really, really low resolution. I’ve been using Pro Snap, because it comes the closest to letting you check out your mirrored shot before moving on to your next process.
I like being able to use what’s onhand, but I’ve been contemplating building some primatives and shapes, uploading them to dropbox, and having access to those to layer with Blender.
Nthn says:
September 26, 2012 at 12:53 pmThanks for this post. It pushed me over the edge to finally pick up Blender. What a new world this opens up in terms of creativity and depth. I tend to use Diptic for rotation and mirroring. It is not live but it works well. I also enjoy aligning things by hand and it does give it a little more analog human feel. Keep rocking the grams @hallwood.
Hallwood says:
September 27, 2012 at 9:13 pm@mg33 I know what you mean about precise alignment. When you lift your finger off it often moves just slightly. There’s a bunch of great almost hidden gems in blender. Did you know you can resize the brush as well? Tap and hold the brush icon.
@chris I agree I prefer a stylus for masking. I use picture show or diptic for mirroring.
@nthn nice. Good to hear. Have fun eh!
mg33 says:
October 2, 2012 at 7:41 pm@Hallwood – I didn’t know that about the brush resizing. Thanks!
Spinx Inc says:
October 15, 2012 at 3:09 amThis is really awesome. Actually I have never tried blending and masking but I think I should go ahead and give it a try. This trick will really help me a lot. By the way, I really appreciate your sharing information on the application ‘Image Blender’.
Chris Hahn says:
October 15, 2012 at 7:06 amI don’t know if you guys saw this yet, but The Glitch Mob and Stagebloc put out a really great realtime mirroring app called Mirrorgram:
https://itunes.apple.com/us/app/mirrorgram/id559500608?mt=8