Process Post: Area Of Interest
My name is Michael Chase, creator of Area of Interest. Today, as a guest on ISO50, I’ll be going into the process of how I create an image.
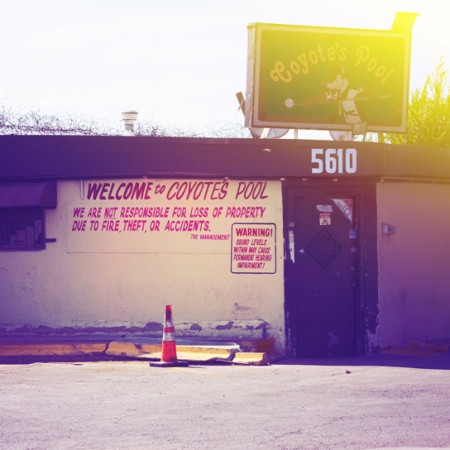
The first part of creating an image is finding a good location to shoot. It was difficult to tell if Coyote’s Pool was still open for business because it was so run down. Paint was flaking badly from underneath the awnings. All the old banners were sun bleached and fraying. Barbed wire covered one side of the roof which I assumed was to keep bar patrons from climbing onto the establishment. As I walked closer to the building I began to wonder if “Coyote’s Pool” was slang for public outdoor toilet based on the smell of it. I was sure it would yield some great textures and there were plenty.
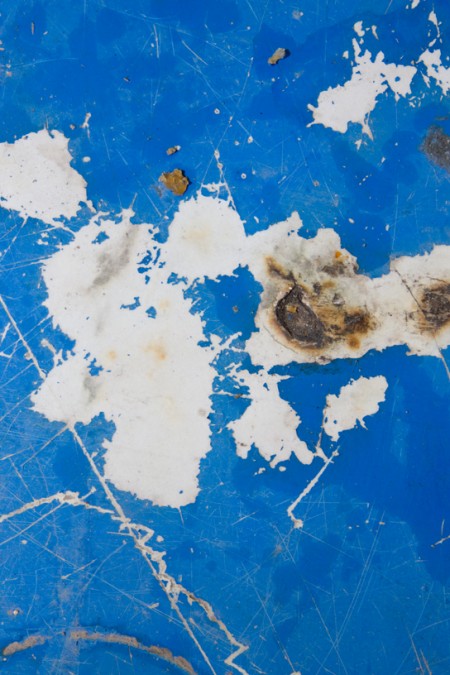
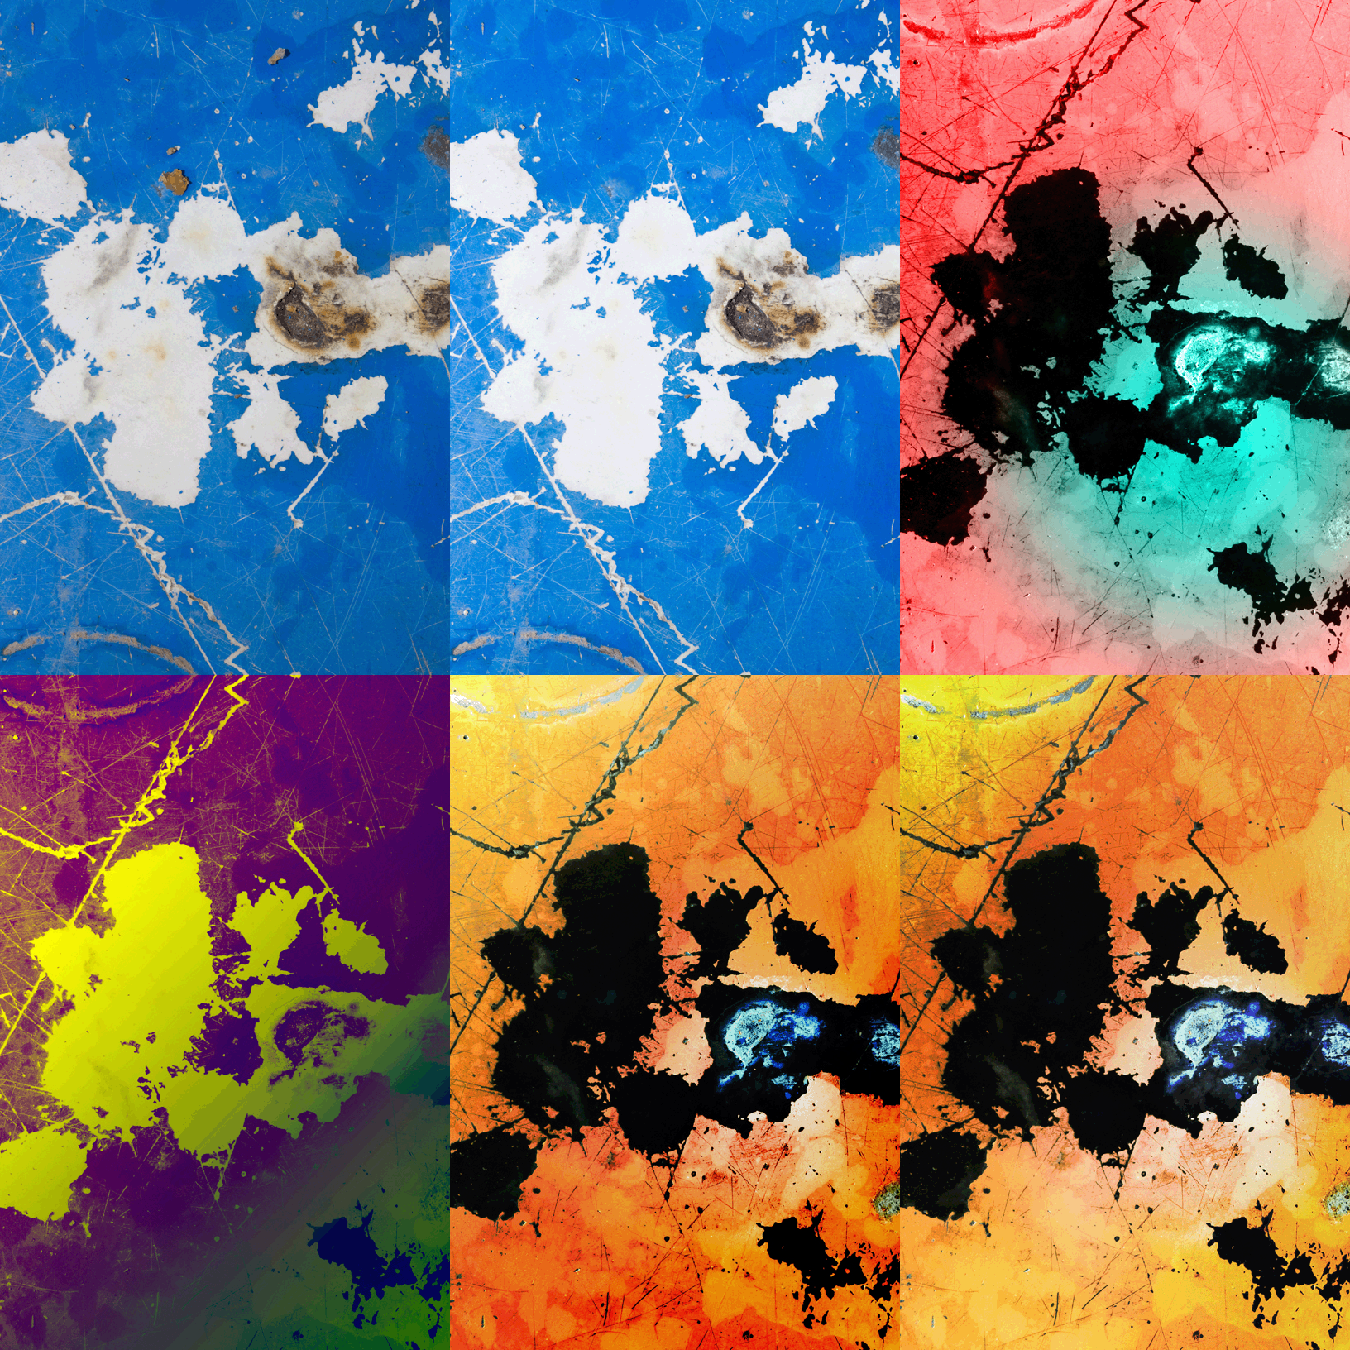
Some of the most fascinating textures were on the tables in the patio area. This is the original image taken from one of the tables. I’m always on the lookout for cracks, splits, flakes, discoloration, residue, splatters, splotches, and other signs of decay. I use these sorts of textures to highlight the subject of impermanence which is the central theme of my work.
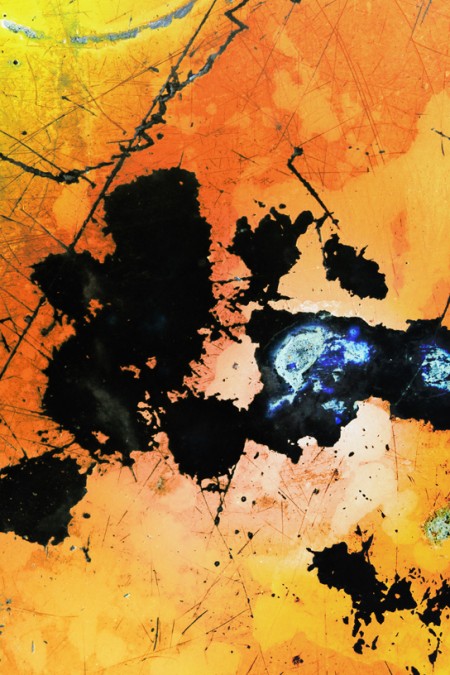
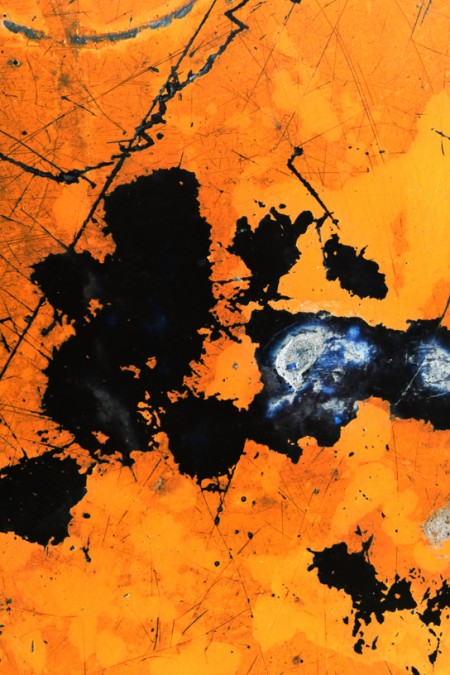
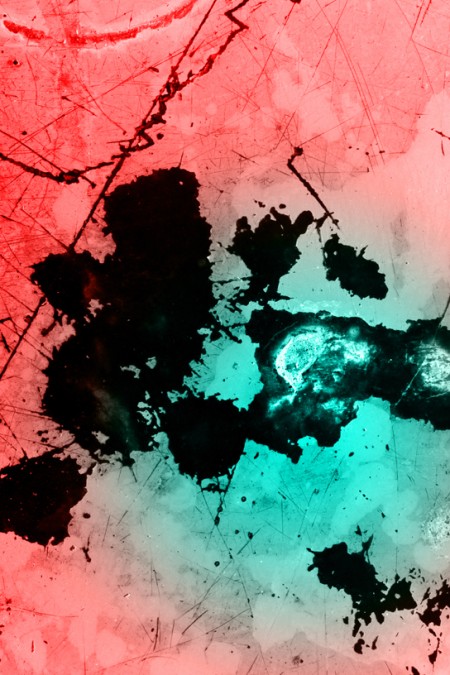
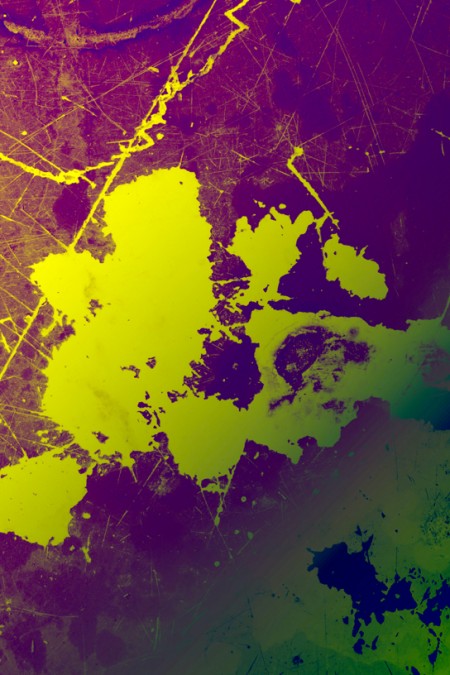
Occasionaly I’ll dramatically alter colors and levels while editing to give myself ideas of which direction I’d like to go next. Sometimes a simple thing like flipping an image or inverting colors can spur me into a completely new direction.
Lately I’ve been working a lot with layering filters and gradient fills. I’m fond of the unusual color combinations that I’ve stumbled on which can really make an image pop.
I tend to make a mess and work backwards. Once I’ve gone too far I’ll strip back until I find a good balance. I know I’m close to being done when I keep returning to the same image over and over. Then it’s subtle level, hue, and lighting tweaks here and there to give the image the atmosphere and mood I want to present.
Here’s a time lapse of the entire process.
Thanks to Jakub and ISO50 for letting me stop by and do this guest post.
